How to replace tail light bulb for Honda Civic (FK, FN)
Model years: 2006 - 2011
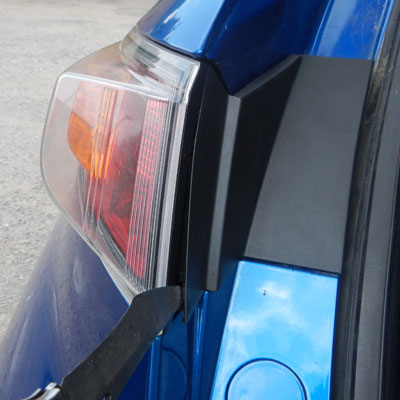
Tail lights or tail lamps are located at the rear of the vehicle, which primary purpose is to make car visible at nighttime. These lights produce red colored beam as well as break lights, except for the latter produce more intensive light than the tail lights. Also tail lights will proceed as long as the headlights are on. It's very important that no obstacles block visibility of the tail lights, otherwise the vehicle might be difficult to notice. This is also a reason to replace tail light bulb as soon as the failure has been noticed.
The life-time of a bulb is limited. Sooner or later, it will burn out and will have to be replaced. Bulbs, made of high quality materials, tend to last longer. It's recommended to use well known brand replacement bulbs.
If bulb burns out right after installation, your vehicle might have a problem inside electrical system - have it checked by auto electrician.
Honda Civic tail light bulb list:
| Body type | Position | Bulb specs |
|---|---|---|
| Five-door hatchback | Taillight | Type: (T20) Voltage / Watts: 12V/5W |
How to replace tail light bulb:
1.
Open boot lid.
2.
The cover clips are very easy to brake off, so stick to this guide to avoid that.
3.
Use knife to release bottom-left corner of a cover:
4.
Use knife to slide cover to right in order to increase a gap:

5.
Use knife to release the bottom-right corner:

6.
Now you should easily remove the cover:

7.
User screwdriver to release the cluster from the body:

8.
Before proceeding to next step, keep in mind, that lamp assembly is held by this clip:

9.
Remove the cluster by pulling it, slightly lifting the plastic retainer with knife:

10.
Remove bulb socket by rotating it counter-clockwise:

11.
Remove the old bulb by just pulling it out of a socket and replace with a new one.
